- Before You Begin: Essential Pre-Installation Steps
- Troubleshooting Bluetooth Connection Issues
- Tip 1: Verify Power and Basic Functionality
- Tip 2: Configure Your Smartphone Settings Properly
- Tip 3: Select the Optimal WiFi Band
- Tip 4: Keep Software Updated
- Tip 5: Execute Manual Bluetooth Pairing
- Tip 6: Alternative QR Code Setup Method
- Conclusion
Setting up your Hello Doorbell should be straightforward, but Bluetooth connectivity issues can sometimes get in the way. Don’t worry, these problems are usually easy to fix. Follow this comprehensive guide to get your video doorbell connected and working perfectly.
Before You Begin: Essential Pre-Installation Steps
Before attempting to install and connect your Hello Doorbell, complete these crucial preparation steps:
1. Fully Charge Your Doorbell
· Connect your doorbell to the provided USB cable.
· Use a 5V-2A charger (Fast charger not supported).
· Allow the device to charge completely. This typically takes 5-6 hours.
2. Position Your Signal Station Strategically
· Place your signal station as close as possible to your WiFi router.
· This proximity ensures optimal signal strength during the initial setup process.
· Avoid placing obstacles like walls or metal objects between the station and router.
3. Connect Your Phone to the Target WiFi Network
· Ensure your smartphone is connected to the same WiFi network you want your doorbell to use.
· Verify you have the correct WiFi password readily available.
· Test your internet connection to confirm it's stable.
Troubleshooting Bluetooth Connection Issues

Tip 1: Verify Power and Basic Functionality
Your Hello Doorbell must be properly powered to establish any connection.
Check Power Status:
· Locate the power switch on the back of your doorbell and confirm it's in the "On" position.
· Look for the flashing yellow-green LED indicators showing the device is in charging mode.
Ensure Adequate Battery Level:
· If your doorbell appears unresponsive or LED lights don't activate, the battery may be depleted.
· Connect the provided USB cable to a 5V-2A charger.
· Allow 30-60 minutes of charging before attempting to pair again.
Tip 2: Configure Your Smartphone Settings Properly
Your phone requires specific settings enabled to detect and connect with the doorbell successfully.
Enable Bluetooth:
· iPhone users: Swipe down from the top-right corner to access Control Center, then tap the Bluetooth icon.
· Android users: Swipe down from the top of your screen and tap the Bluetooth icon.
Activate Location Services (When Required): Modern smartphones often require location access for Bluetooth device detection.
· Navigate to Settings > Location and ensure it's enabled.
· This permission helps your phone discover nearby Bluetooth devices more effectively.
Grant App Permissions:
· Open your phone's Settings menu.
· Find Hello Doorbell App > Permissions.
· Verify that both Bluetooth and Location permissions are granted.
Pro tip: After adjusting permissions, close and reopen the Hello Doorbell app to refresh these settings.
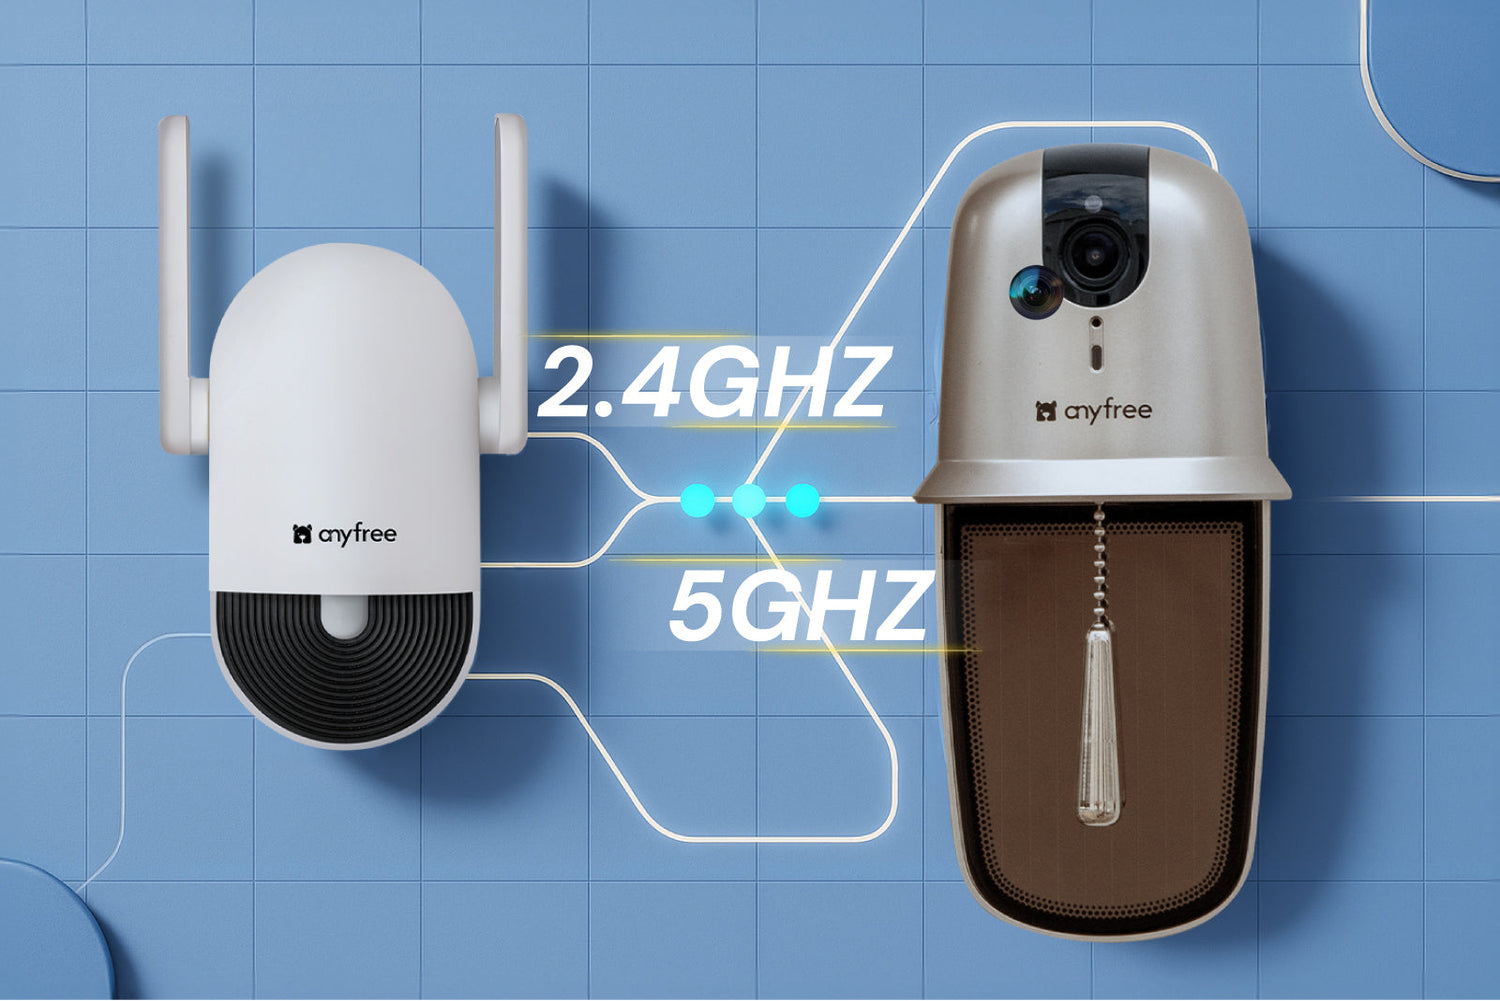
Tip 3: Select the Optimal WiFi Band
While Bluetooth handles initial pairing, your doorbell relies on WiFi for ongoing connectivity. Choosing the right frequency band is crucial.
Prioritize 2.4 GHz Networks:
· Hello Doorbell performs best on 2.4 GHz networks.
· This frequency offers superior range and better penetration through walls.
· Ideal for doors located far from your router.
Consider 5 GHz for Close-Range Installations:
· If your doorbell is within 10 feet of your router and the 2.4 GHz setup repeatedly fails, try 5 GHz.
· This higher frequency can sometimes resolve stubborn connection issues.
Critical Reminder: Always ensure your phone connects to the same WiFi band your doorbell will use during the connection process.
Tip 4: Keep Software Updated
Outdated software frequently causes unexpected connectivity problems. Maintain current versions for optimal performance.
Update the Hello Doorbell App:
· Visit the App Store (iOS) or Google Play Store (Android).
· Search for "Hello Doorbell."
· Tap "Update" if a newer version is available.
Check for Firmware Updates:
· Open the Hello Doorbell application.
· Navigate to Settings > Device Info.
· Select "Update to the latest version".
· Follow any on-screen instructions if updates are found.
Tip 5: Execute Manual Bluetooth Pairing
When automatic pairing fails, try this step-by-step manual approach:
1. Prepare Your Doorbell: Ensure it's powered on and fully charged.
2. Launch the App: Open Hello Doorbell and select "Add Device."
3. Long Press Signal Station: Press and hold your signal station's side button for 3 seconds until you hear the prompt sound and see the light turn green. A flashing green light indicates the device is ready for pairing.
4. Choose Connection Method: Select "Bluetooth Connection" from the options.
5. Follow Guided Setup: The app will provide specific instructions for detecting your doorbell.
6. Complete Pairing: Wait for confirmation, then proceed to WiFi configuration.
Helpful Resource: Consider watching our Quick Start Video Tutorial for visual step-by-step guidance.
Tip 6: Alternative QR Code Setup Method
If Bluetooth continues to cause problems, the QR code method offers a reliable alternative.
QR Code Connection Process:
1. Open the Hello App and tap "Add Device."
2. Follow app instructions and select "Scan Code Connection."
3. Use your doorbell's camera to scan the QR code displayed on your phone screen.
4. Complete the setup using the on-screen WiFi configuration prompts.
This method bypasses Bluetooth entirely, often resolving persistent connection issues.
Shop the anyfree Hello Doorbell
Conclusion
Resolving Bluetooth connectivity issues with your Hello Doorbell can be a manageable process when approached methodically. By verifying that all devices are adequately powered, ensuring settings are properly configured, and reducing sources of signal interference, you significantly increase the chances of a successful connection. If you've followed these steps and the issue persists, don’t hesitate to contact anyfree’s customer support team for expert guidance and further assistance.
Remember: Most connection issues stem from simple oversights in the preparation phase. Taking time to properly charge your device, position your signal station, and verify your phone's network connection will save you significant troubleshooting time later.

Hinterlasse einen Kommentar
Diese Website ist durch hCaptcha geschützt und es gelten die allgemeinen Geschäftsbedingungen und Datenschutzbestimmungen von hCaptcha.